Spray or Paint on Protection Against Construction Site Spills and Splatter
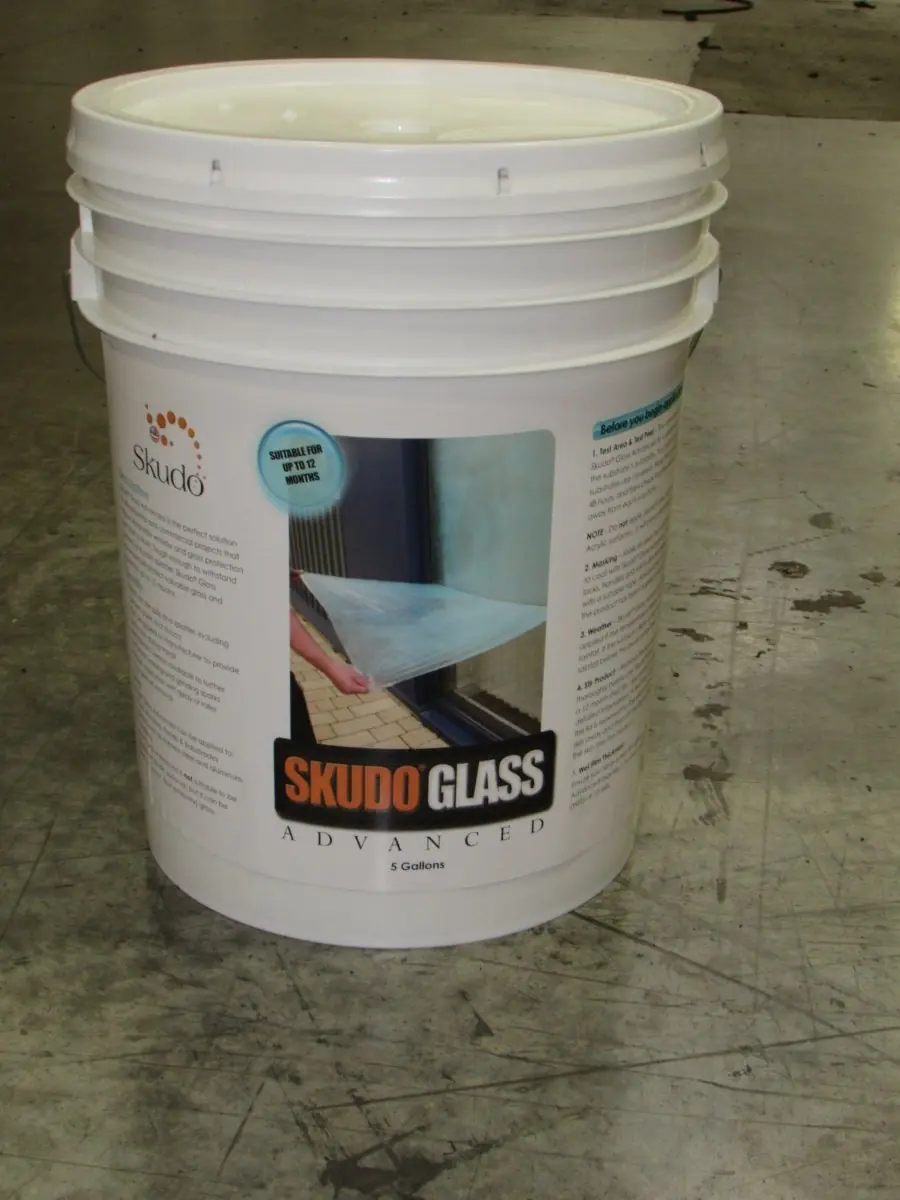
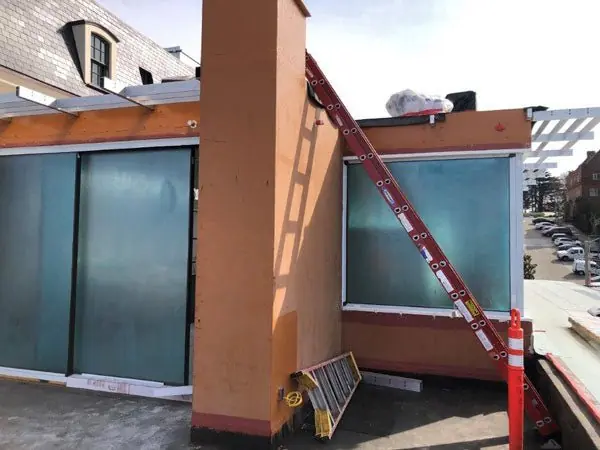
Skudo Glass Advanced is the perfect solution for all construction projects that require temporary window, glass, and metal protection from start to finish.
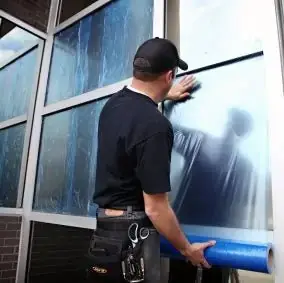
Skudo Glass Advanced is first applied with an airless sprayer or roller, which then dries into a peelable, protective film.
Skudo Glass Advanced is tough enough to withstand cement, paint splatter, stucco – even grinding and welding sparks! It can be safely left in place for up to 12 months.
Benefits of Use
Skudo products provide protection against:
- Machinery, carts, ladders, and lifts
- Scaffolding and shoring
- Impact from foot traffic and dropped materials
- Water
- Spills and stains, including paint, mortar, coffee, cola
- Rust
- Mild solvents
- Mud, dirt, and debris
- Slip and trip hazards
- Mold & Bacteria (Select Products)
- UV (Select Products)
- Fire and welding sparks (Select Products)
Ideal Suitability for Most Glass & Metal Surfaces
Skudo Glass Advanced can be applied to glass surfaces, such as windows, storefonts, architectural glass and curtian walls.
Skudo Glass Advanced is also commonly applied to metal surfaces, i.e. stainless steel, aluminum, balustrades, balconies, and railing. It can also be used on porcelain surfaces (i.e. bathrubs).
Skudo Glass Advanced Application Rate
140-180 sq. ft. per gallon
*Based on 2-Coat Spray Application
Limitations
Skudo Glass Advanced should never be applied to acrylic surfaces, as it will bond permanently. It is safe to use on ‘Low-e’ (low emissivity) glass.
How to Apply
Note: Do not apply Skudo Glass Advanced to Acrylic surfaces. It will bond permanently.
Preparation
Test Area & Test Peel – You must always apply Skudo Glass Advanced to a small area to test the substrate’s suitability. You must ensure that all substrates are covered. Allow the product to dry for 48 hours, and then check that the product will peel away from each substrate.
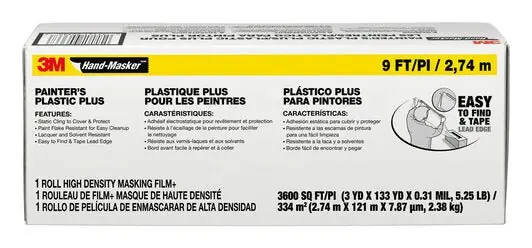
Masking – Mask all areas that you don’t intend to coat with Skudo Glass Advanced. Items such as locks, handles and vents should always be masked with a suitable tape. Always remove the tape once the product has been applied and is still wet.
Weather – Skudo Glass Advanced cannot be applied if the temperature is below freezing or in rainfall. If the surface is likely to be exposed to direct rainfall before the product has dried, do not apply.
Stir Product – Remove the lid and stir the product thoroughly before use. A skin may have formed when the lid is removed for the second time. Simply cut the skin away and then stir the Skudo product. Do not stir the skin into the product.
Tools & Equipment
If applying with a roller, we recommend that you use a 3/8 Nap lambswool roller. If you’re planning to use an airless spray gun, we recommend a minimum tip size of 0.021” (eg: 321, 323 or 325) and that you use a shield to protect against over spray on brick work, stucco, etc.
- You’ll also need:
- Masking materials or Shields
- A Wet Film Gauge – Skudo Glass Advanced requires a minimum wet film thickness (WFT) of 10 Mils.
- Stirrer
- Cleaning supplies for equipment
Roller Application
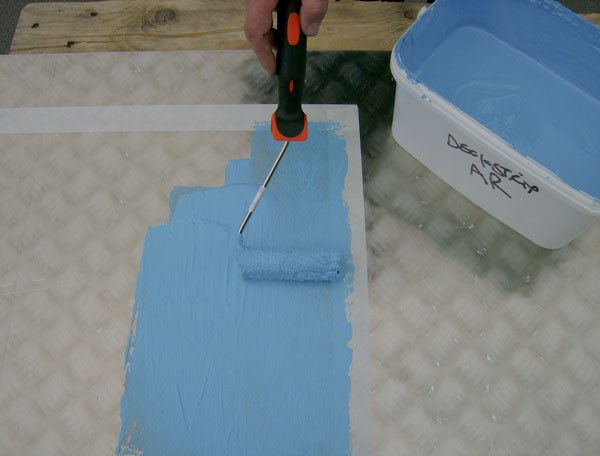
1
Once you have masked off the area, apply a base coat of Skudo to the substrate paying particular attention to vulnerable areas such as corners. Allow to dry for 15 minutes or until coating is tacky.
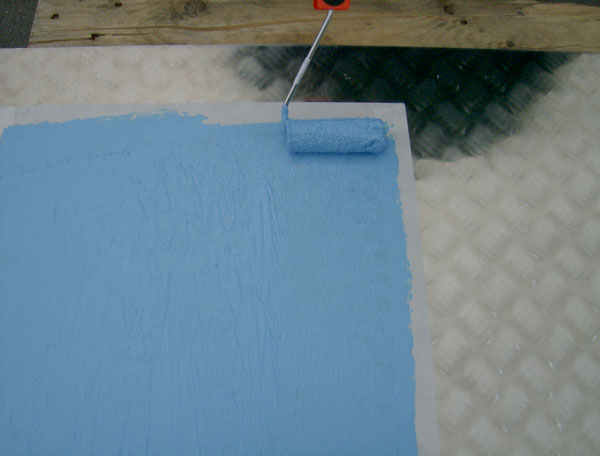
2
Apply a second, thicker coating, again paying particular attention to corners. If the coating is too thin in these areas it will be difficult to remove.
Spray Application
1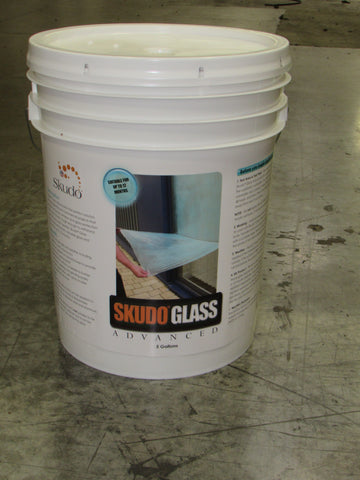
You need to purge the spray equipment before you begin application. First place the inlet suction hose into the Skudo container and purge the airless spray pump with material. Then purge the airless spray gun and test the spray pattern.

2
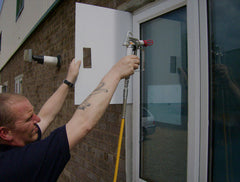
Point the nozzle at the area you wish to protect and hold the spray gun 12-15 inches from the substrate. Use a shield to prevent over spray.
3
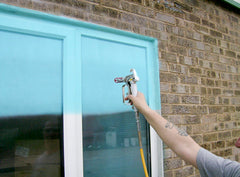
Release the safety catch and start spraying in a horizontal direction. Keep the gun at right angles to the surface. This means moving your entire arm back and forth rather than flexing the wrist.
4
Release the trigger at the end of each stroke. Then depress the trigger and overlap the previous pass by 50%. Continue in this fashion for consistent coverage working down the substrate.

